How to Take the Perfect Photo for a Face Symmetry Test
If you’re planning to check your facial balance using an AI face symmetry test, capturing the right photo makes all the difference. A high-quality, well-lit picture helps the AI analyze your features accurately, ensuring you get reliable symmetry results. In this guide, you’ll learn exactly how to take the best photo for a face symmetry test along with expert facial analysis photo tips that can boost your results.
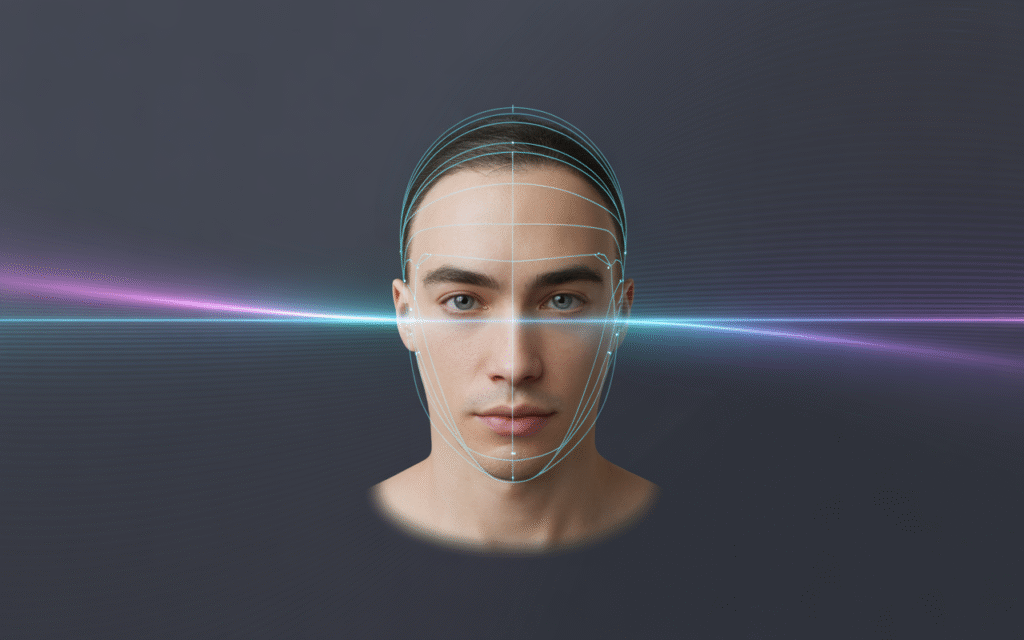
Once your photo is ready, our AI system gets to work. Curious how the technology actually measures your facial symmetry? Read our post on how AI measures facial symmetry
1. Choose the Right Lighting
Lighting is the foundation of an accurate face symmetry test photo. Natural daylight is ideal, as it provides soft and even brightness across your face. Stand facing a window or a light source to avoid harsh shadows that can confuse the AI during your symmetry check image guide process.
2. Maintain a Frontal Pose
When you take a face symmetry test picture, make sure your head is facing directly toward the camera. Avoid tilting or turning your face. A straight, centered pose allows the AI to detect your key facial landmarks precisely from the eyes and nose to the mouth and chin.
3. Keep a Neutral Expression
For accurate results, keep a calm and natural expression. Avoid smiling or frowning. A neutral face ensures that the AI face symmetry test captures your features in their natural position, preventing emotional expressions from affecting the measurement.
4. Use a Simple, Clear Background
Choose a plain background ideally white, light gray, or solid-colored to help the AI focus on your face. Avoid clutter or strong patterns, as these can create distractions during facial symmetry analysis.
5. Avoid Obstructions
Before you upload your photo for symmetry test, make sure your hair, glasses, or accessories aren’t covering your facial features. Pull your hair back and remove items like hats or scarves to give the AI full visibility of your face.
6. Maintain Even Lighting on Both Sides
Uneven lighting can make one side of your face look darker, leading to misleading results. Try using balanced lighting from both sides or face a centered light source to keep your face symmetry test photo consistent.
7. Keep the Camera at Eye Level
Your camera should be at the same height as your eyes. Tilting your phone upward or downward can distort your facial proportions, affecting how the AI facial analysis interprets symmetry. Eye-level shots maintain accuracy and balance.
8. Use High Resolution
Blurry or low-quality images can lead to incorrect symmetry scores. Always capture a clear, high-resolution image most modern smartphones work perfectly for this kind of AI face symmetry test.
9. Double-Check Before Uploading
Before you upload, quickly inspect your image. Ensure your face is centered, well-lit, and clear. Following these facial analysis photo tips ensures a smoother process and more reliable results.
Final Thoughts
Taking the perfect photo for a face symmetry test doesn’t have to be complicated just a few small adjustments can make your results far more accurate. Whether you’re exploring your facial symmetry analysis for beauty, balance, or curiosity, a great photo sets the stage for meaningful insights.